Programming Automation Systems
Introduction to RoboPro
Its time to begin learning how to program automation systems. Fischertechniks uses a program called RoboPro to program its motors and sensors. Use the tutorials below to learn how to program with RoboPro.
Working With Buttons
Projects
Designing, Building and Programming an Elevator
Using Math To Calibrate a Photoresisitor
Connecting and Configuring the Interface
The Parts You'll Need

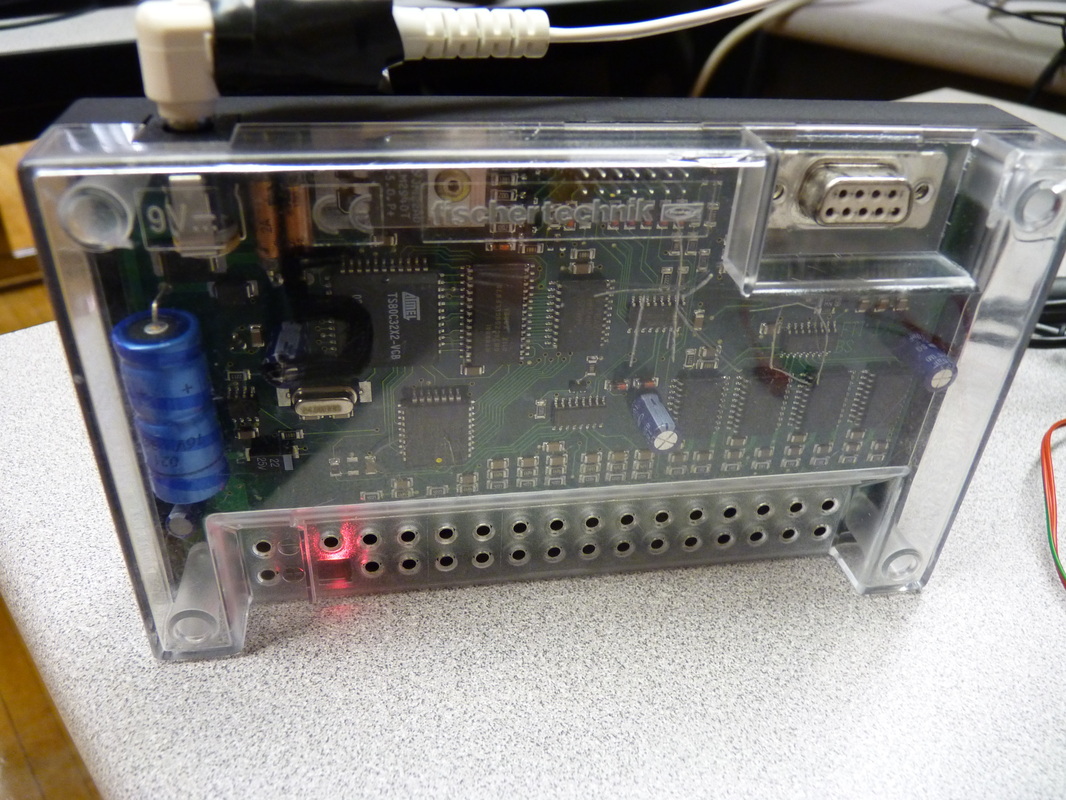
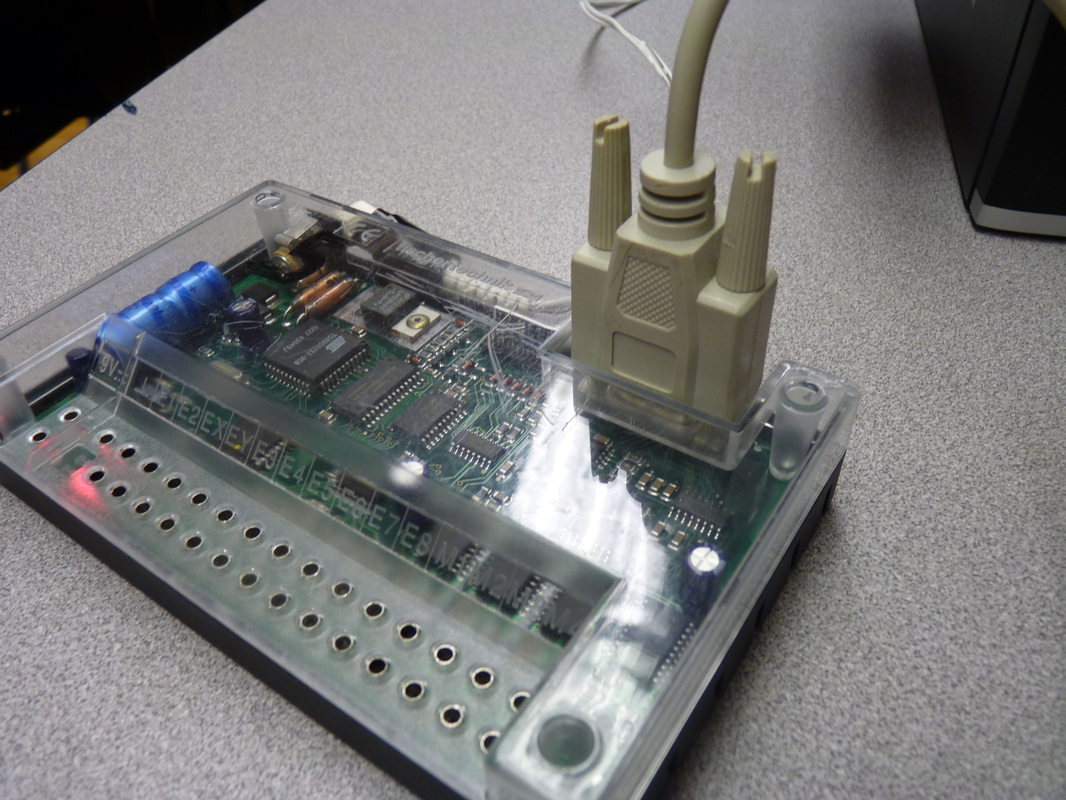
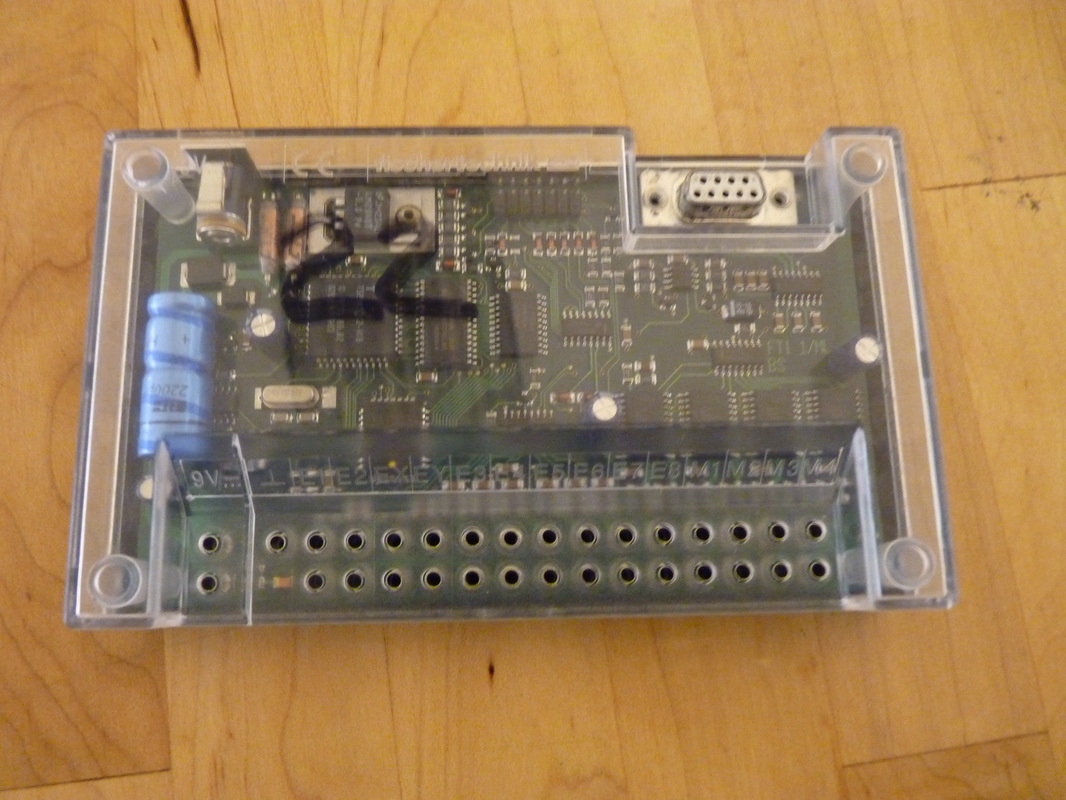
The Interface

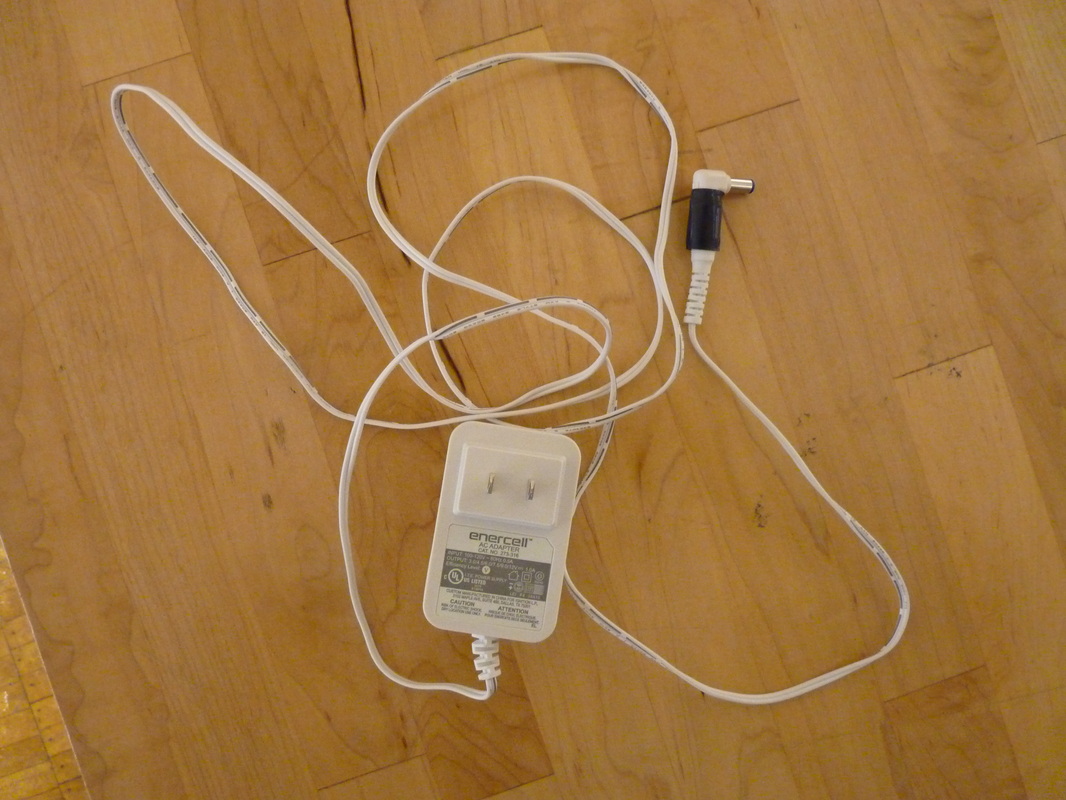
Power Pack
|

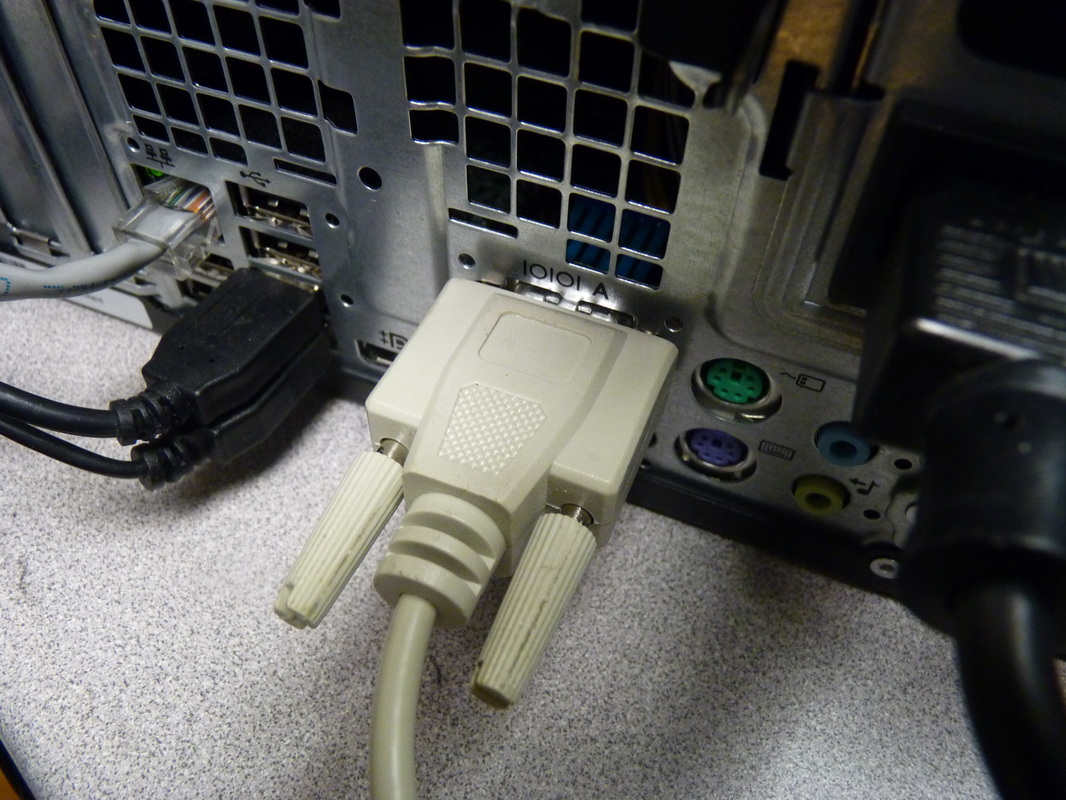
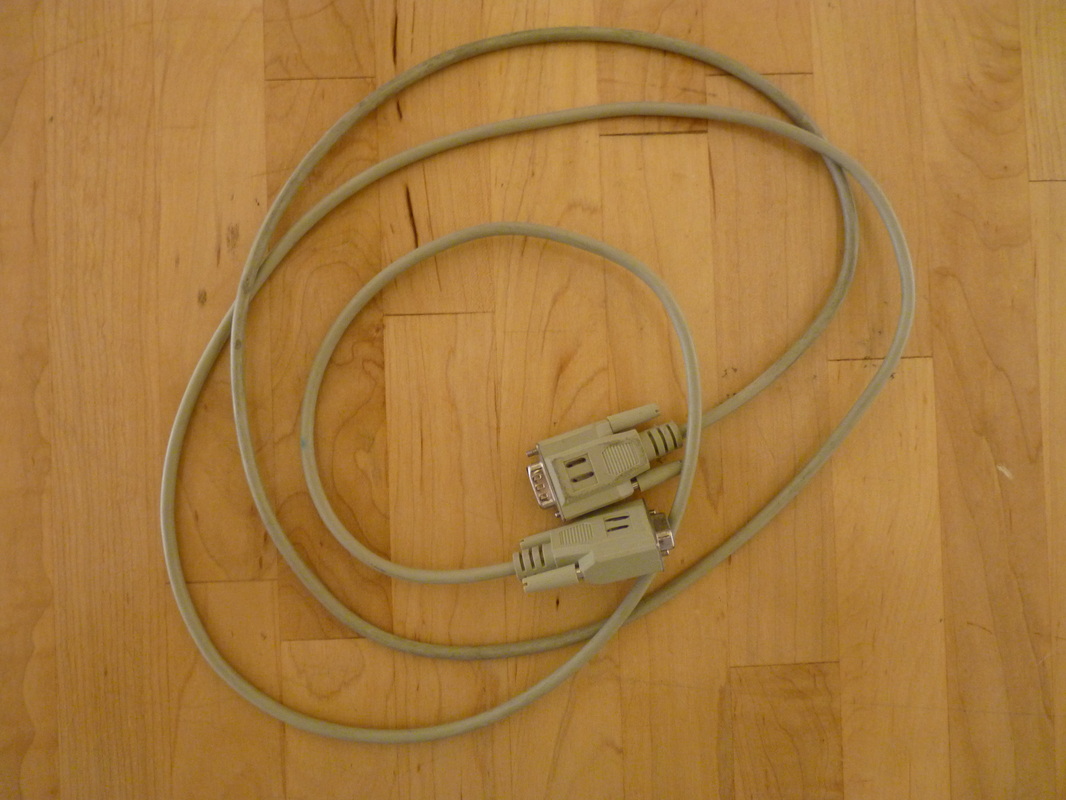
Serial Cord
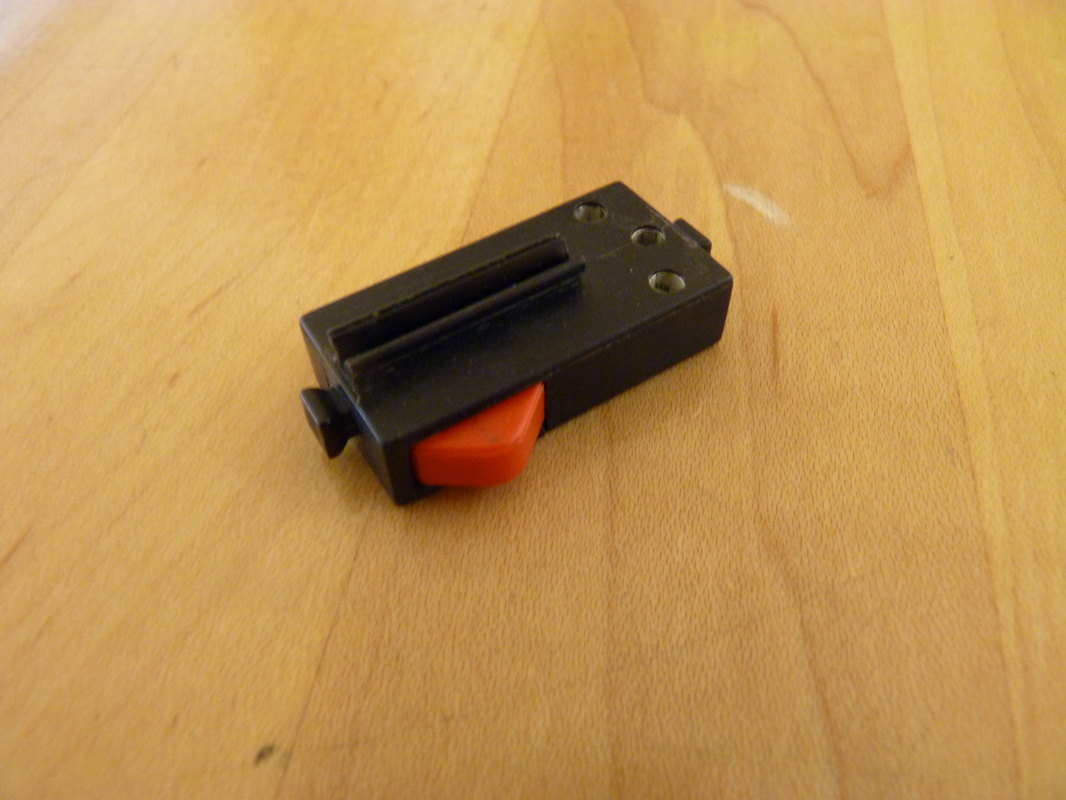
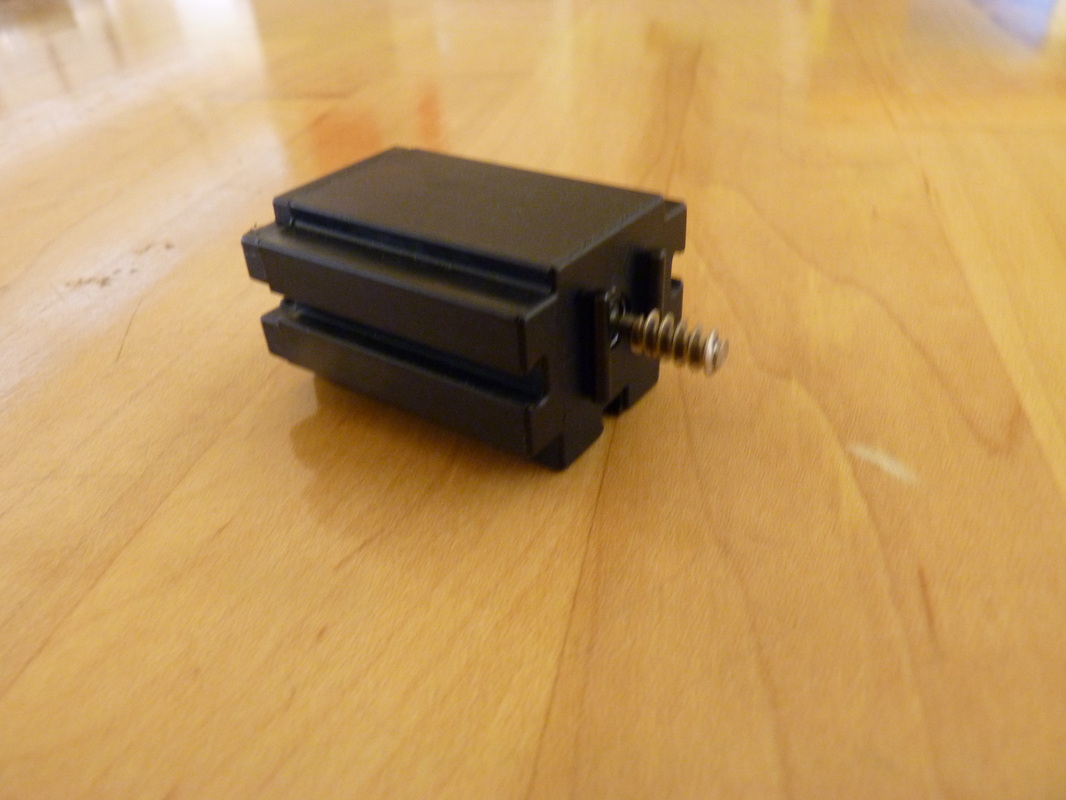
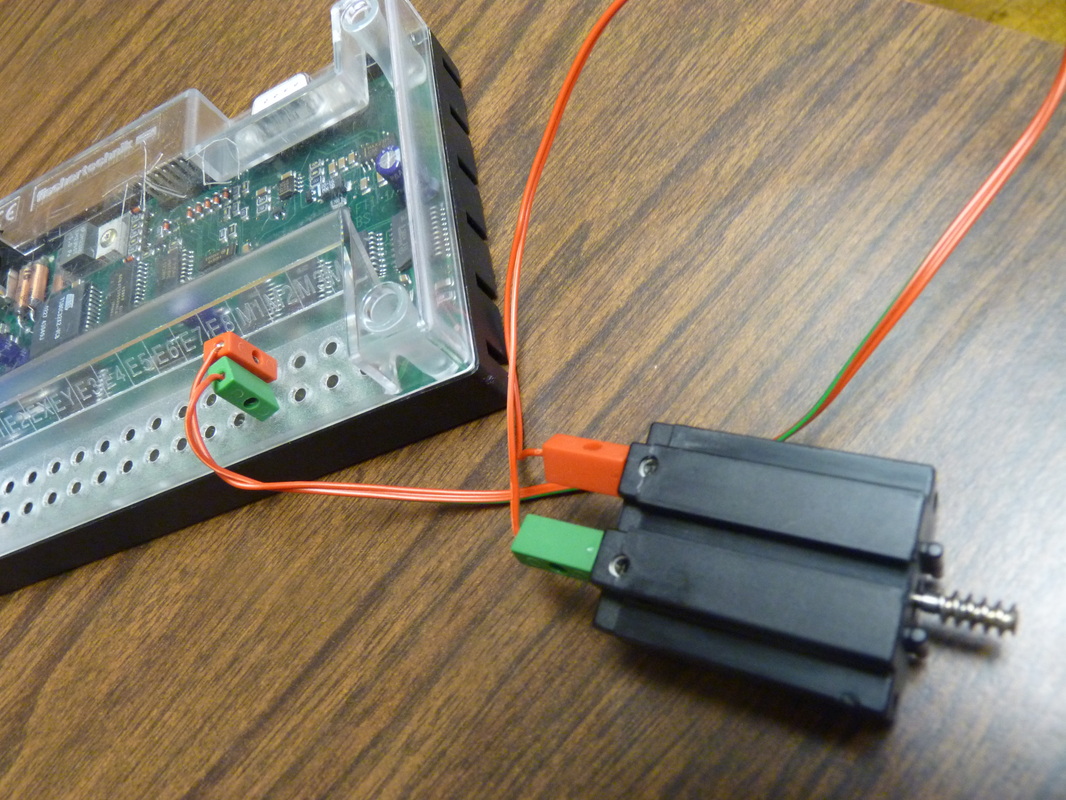
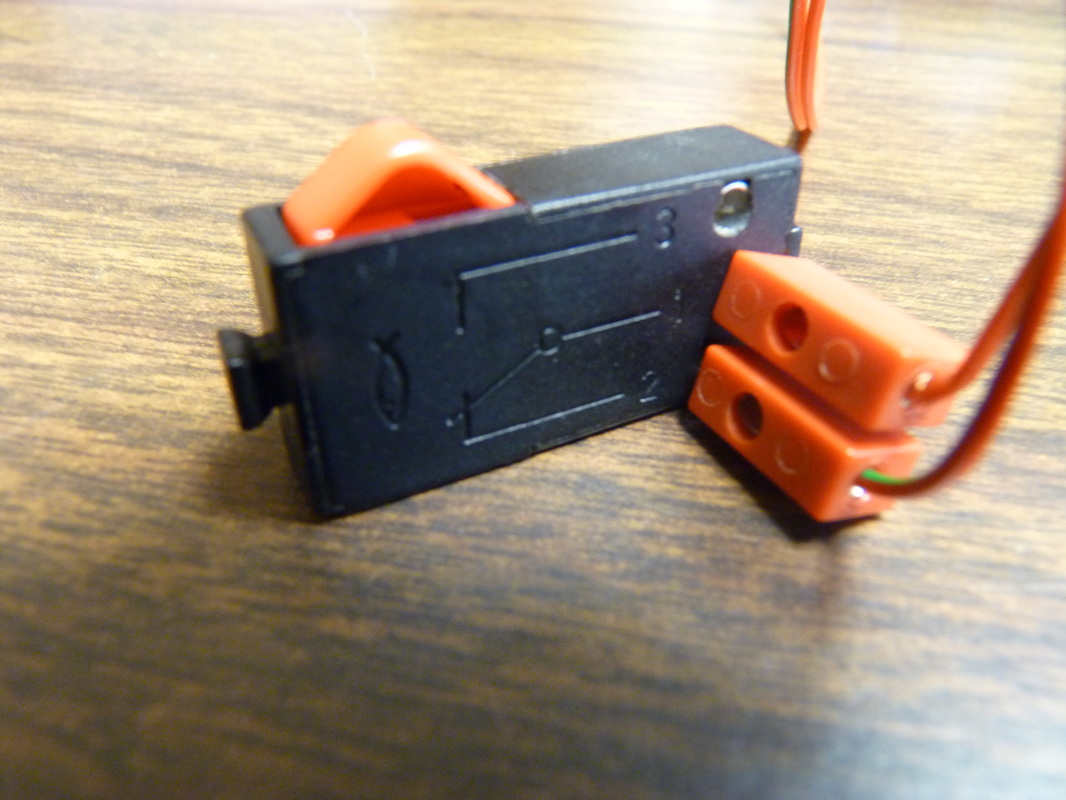
Digital Switch
|
Motor
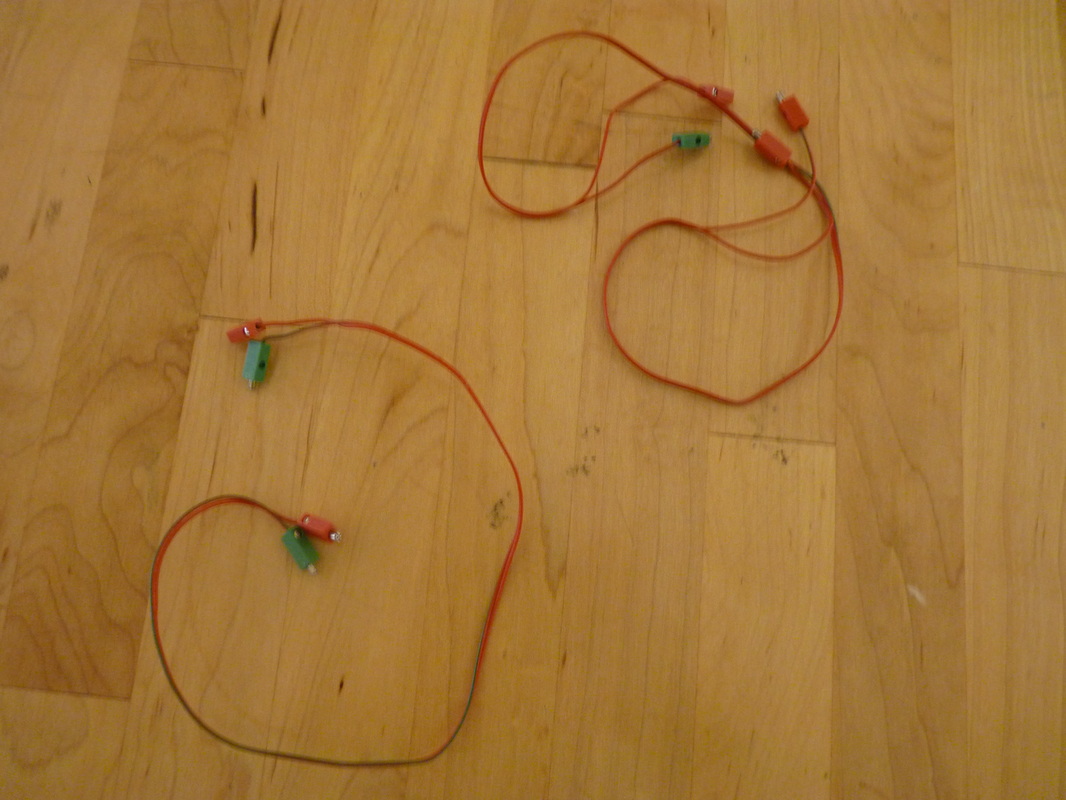
2 Wire Connectors
|
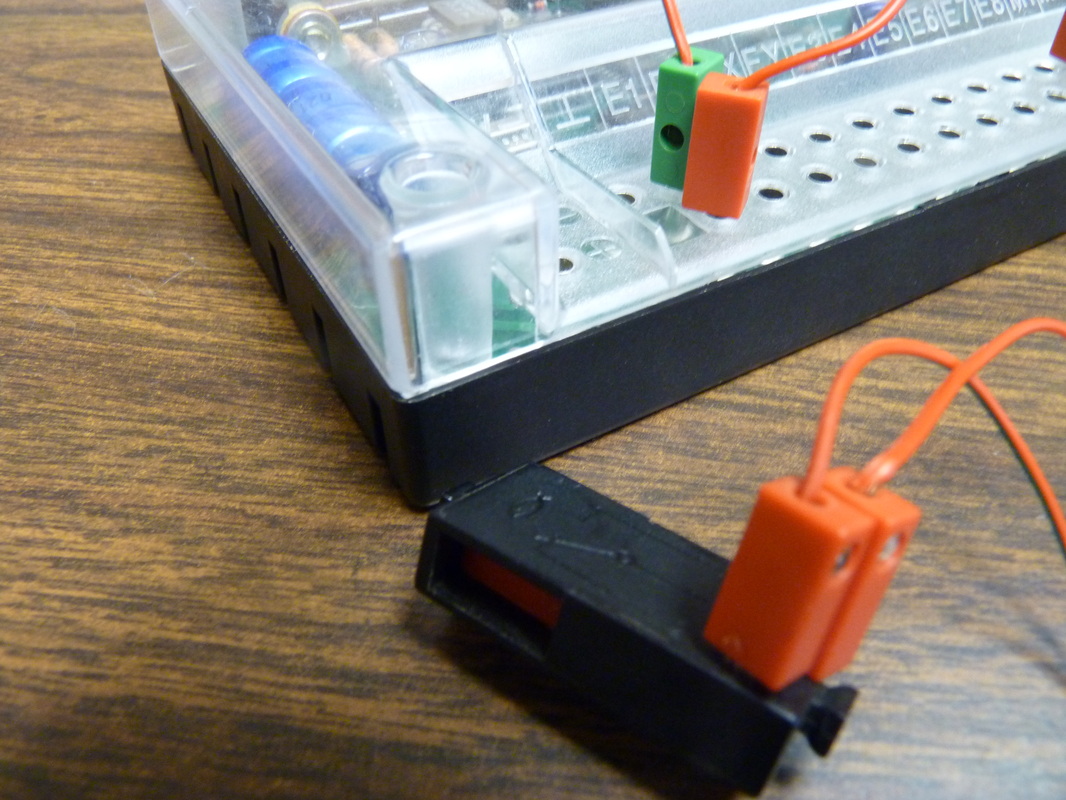
Connecting The Interface
|
Step #1: Plug in the power pack and connect it to the interface
Step #2: Connect the serial cord to the interface Step #3: Connect the serial cord to the back of the computer Step #4: Use a wire connector to connect the motor to the M1 port on the interface Step #5: Insert one end of a wire connector into port 1 and 2 of the digital switch Step #6: Insert the other end of the wire connector into the E1 pot of the interface |
|
Configuring the Interface
Designing, Building and Programming an Elevator
Introduction
A group of investors has just bought a skyscraper that is in bad shape. They want to redesign it into a modern skyscraper and rent it out to companies and restaurants. Your design team has been hired to design, building and program an elevator system for their skyscraper.
Research
|
First, lets learn how elevators work. Read the following article (8 pages) and complete the worksheet.
|
Worksheet
|
||
Design
|
Before we design lets look at the constraints of the project.
|
Design Constraints
The elevator must:
-Have 3 floors (evenly spaced) -Have buttons for each floor -Be able to transport a figurine to any floor with the push of a button -Stop at the desired floor and wait until another button is pushed -Have a 7" space at the top for a safety system (to be build later) Above & Beyond -Control system displays where elevator is at all times -Sub programs used in control system -Elevator has a door which closes and opens when elevator moves/stops |
Design Sketching
Phase 1: Individual Sketching
Sketch a design of an elevator that meets the design constraints. Label the components of your design and be ready to present your idea to your group
|
Phase 2: Presentations to Group
Take turns presenting your designs to your group. For each design, group members should choose one aspect of the design as STRONG and one aspect of the design as WEAK
|
Phase 3: Group Design
Now that your group has compared and analyzed each others' design, its time to make a decision one your group's design. Sketch the design that your group has decided on and provide a description of how it works.
Building The Elevator
|
Using the Fischertechniks parts build your elevator system to meet the design constraints.
|
|
Video: Programming Elevators
|
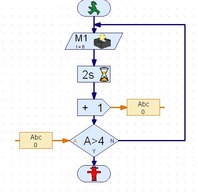
Using RoboPro, program the flowchart that will control the operation of the elevator.
Remember, the above and beyond requires subprograms and a system to indicate where the elevator is at all times |
|
Presenting The Elevator
Using Math To Calibrate a Photoresisitor
Learning Target: I can use measurements, from experiments, to accurately build
and program automation systems
|
When you think of math equations do you think of saving the lives of others? From now on you will. This project will have you design a safety mechanism whose measurements are based off an equation we will work on together. |
|
Introduction
|
When engineers design safety mechanisms they never say, "Oh thats close enough". Engineers calculate the equipment they work with to exact measurements.
Your team has designed and built an elevator. Now you will use a photoresistor to prevent the elevator from crashing into the ceiling. Like engineers you will use math to calculate the exact measurements of your equipment. |

|
How Photoresistors Work
Supporting Target #1: I can gather data from an experiment
Setting Up the Experiment
The Parts
The Interface
Serial Cable
|
Power Pack
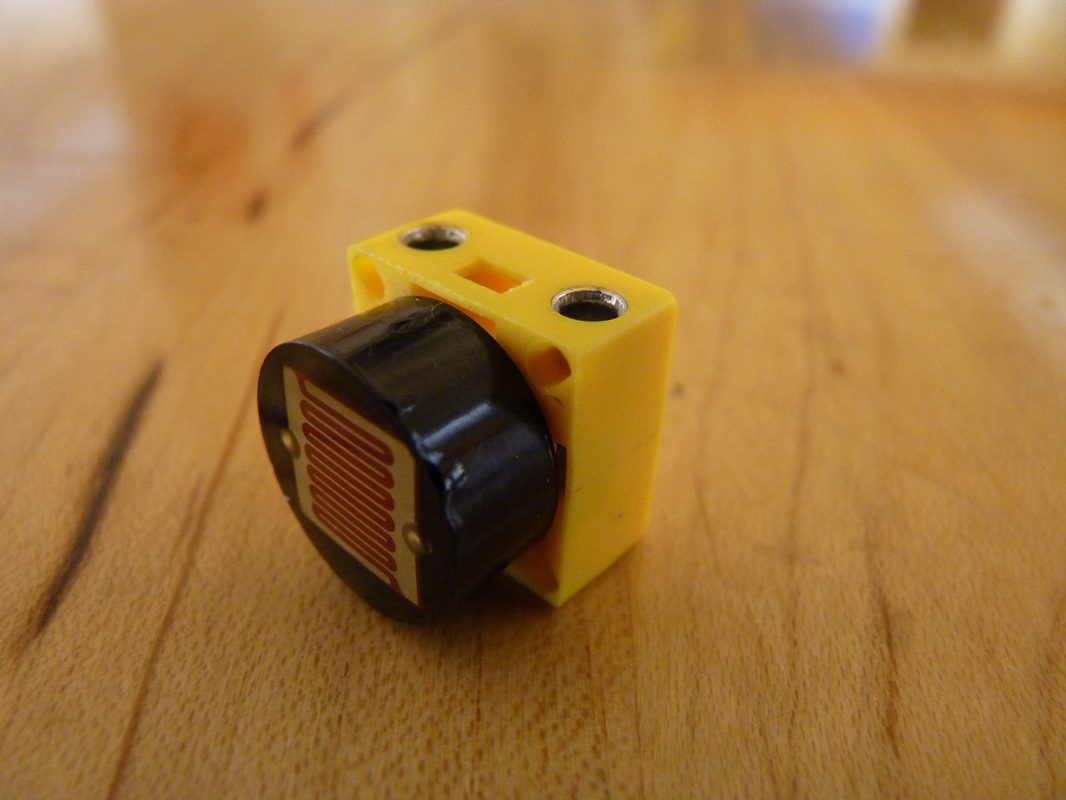
Photo Resistor
|
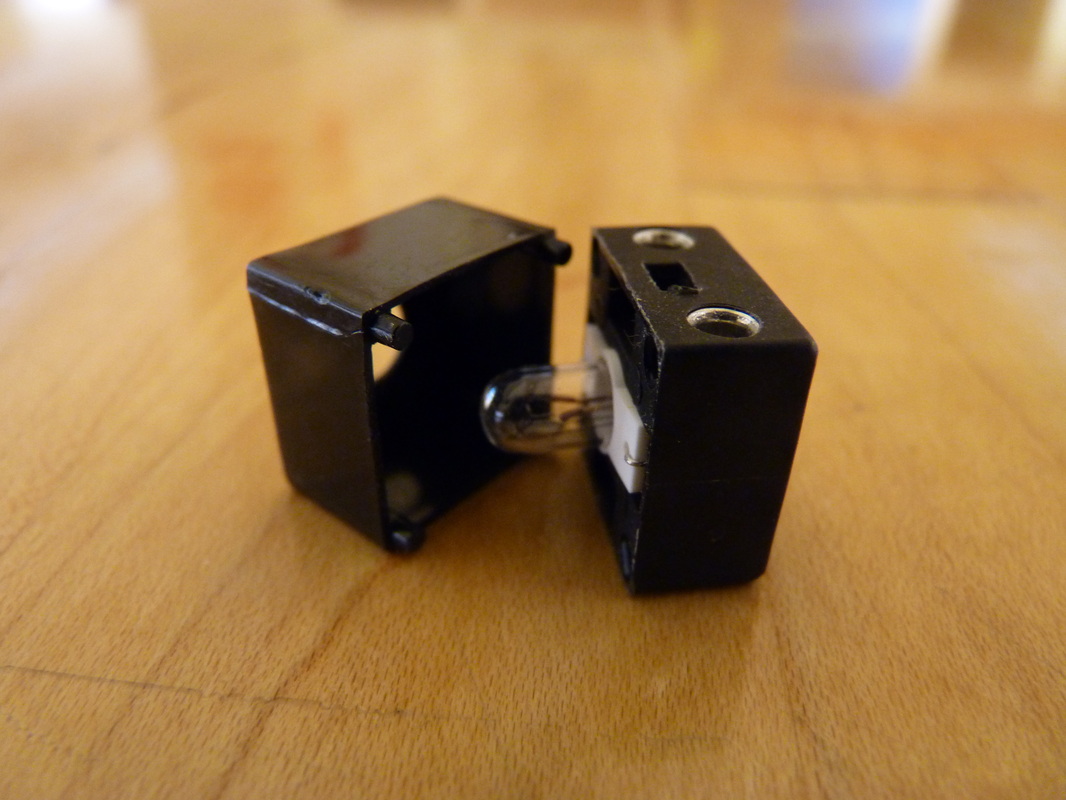
Lamp With Cap

2 - Wire Connectors
|
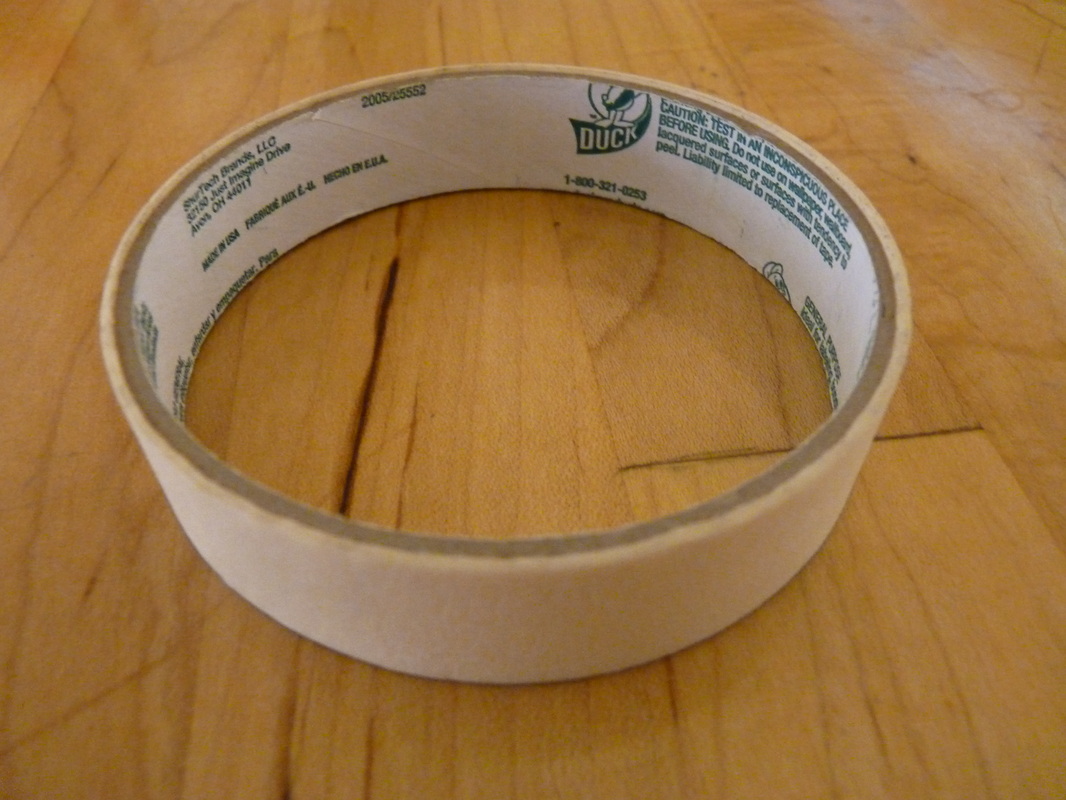
Tape
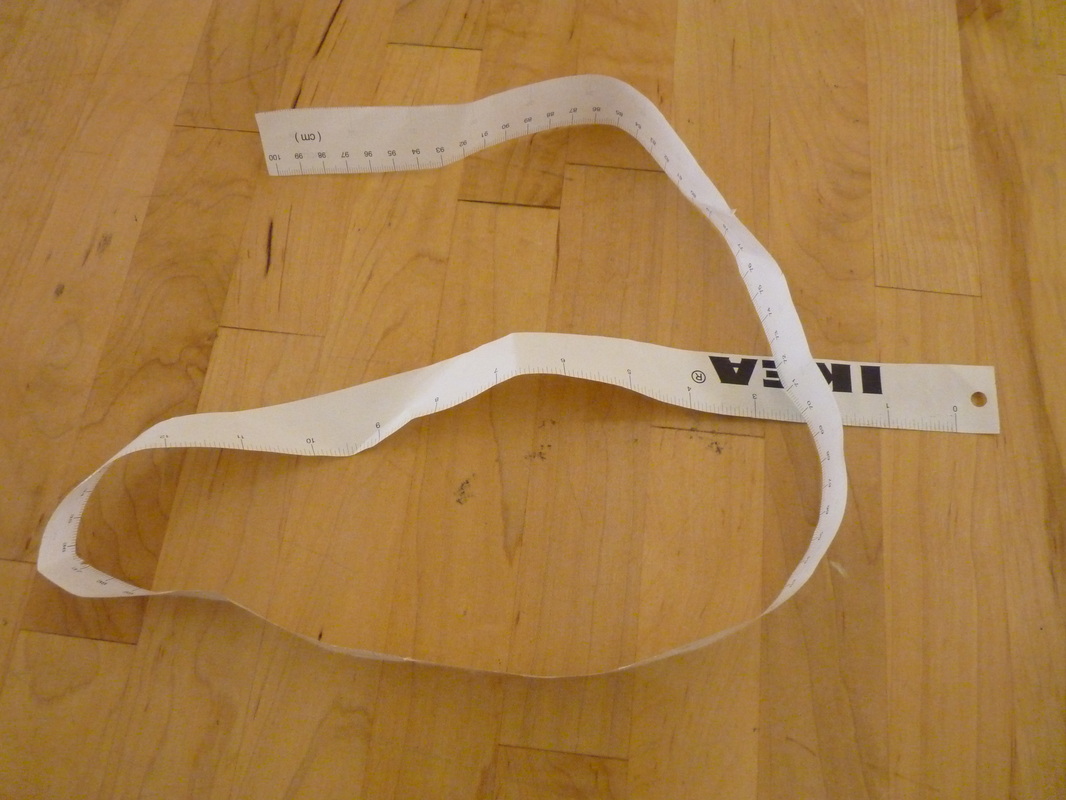
Tape Measure
|
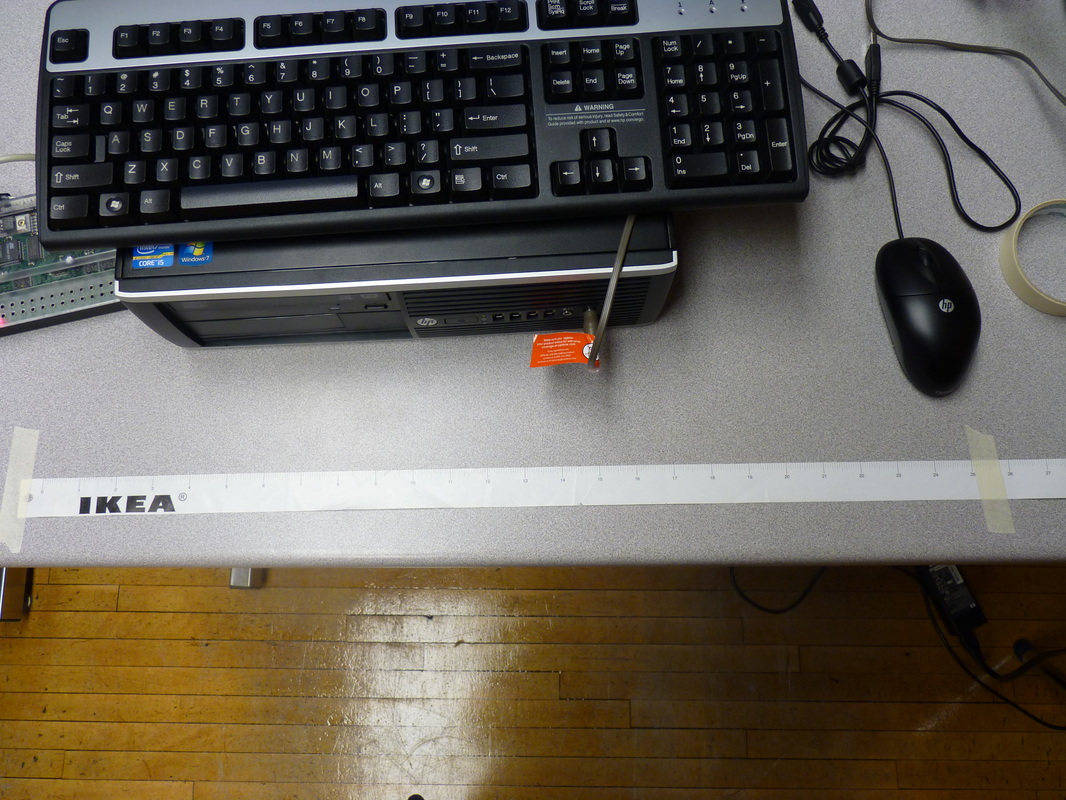
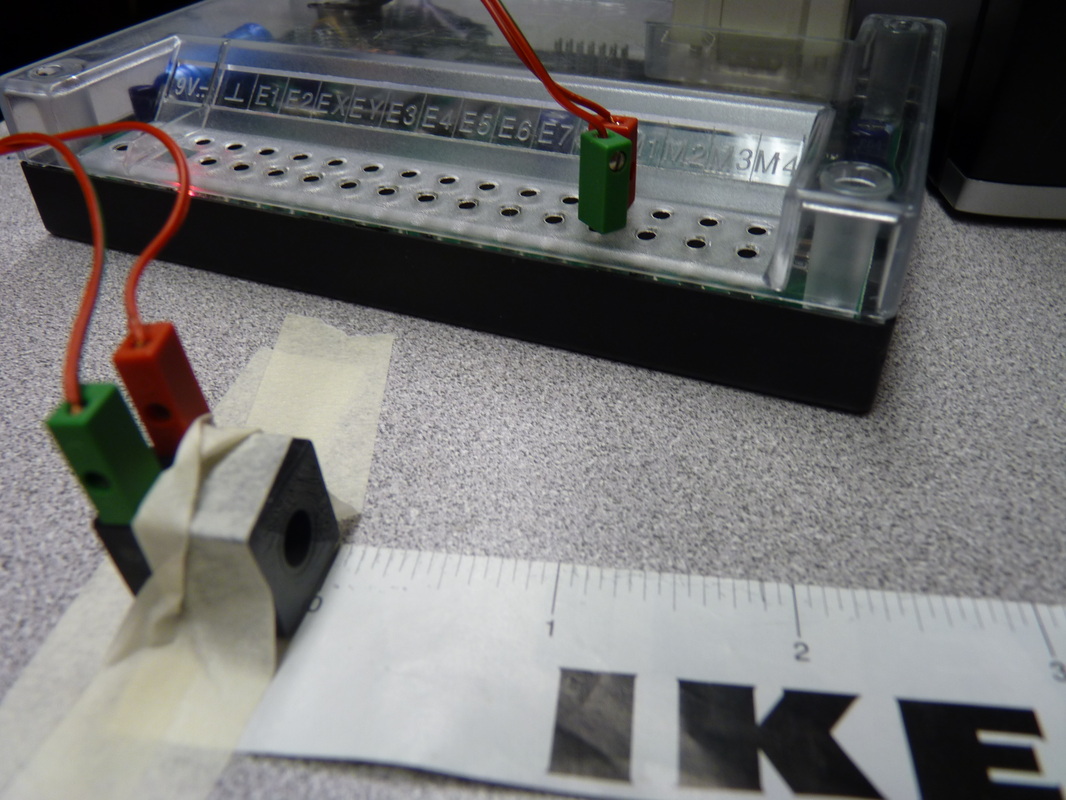
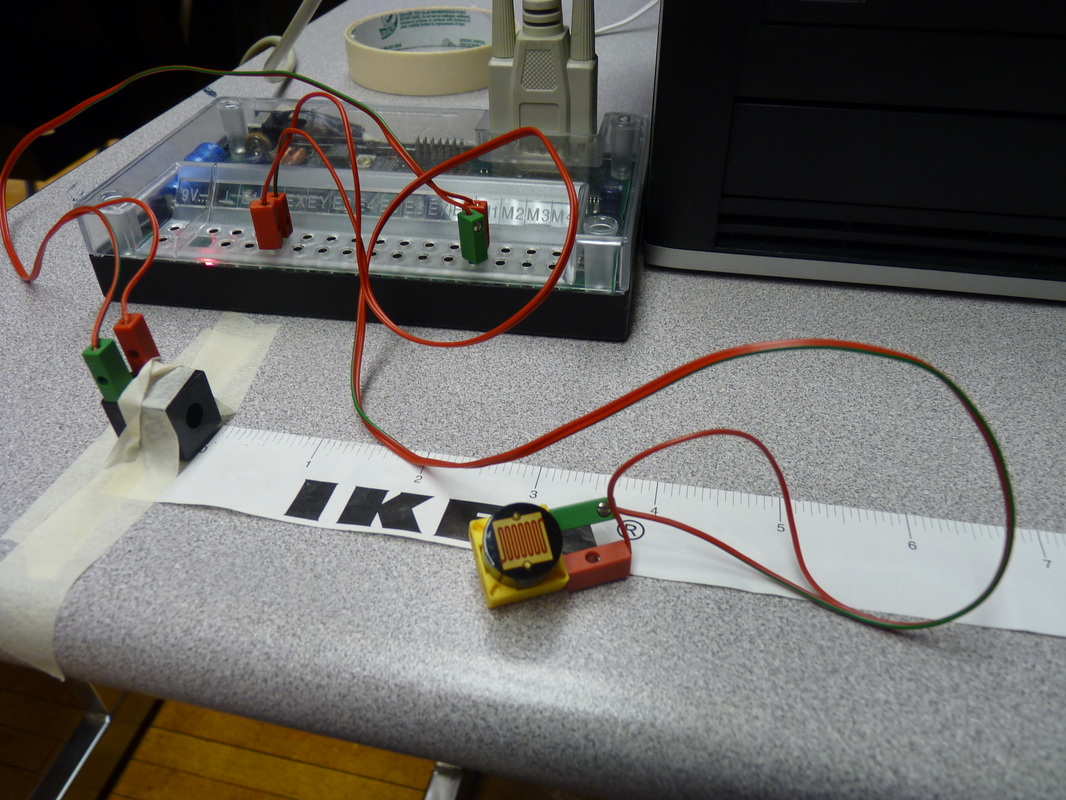
The Set Up
|
1) Tape the tape measure to the table so that 20 inches are of use. 2) Connect the lamp to M1 and tape it evenly with 0 on the tape measure 3) Connect the photo resistor to the input port EX |
|
|
The lamp gets REALLY HOT when it has been on for over a minute. Hot enough to melt plastic (see image). You can be burned by the lamp.
Make sure to turn the lamp off in between every test to let it cool down. |
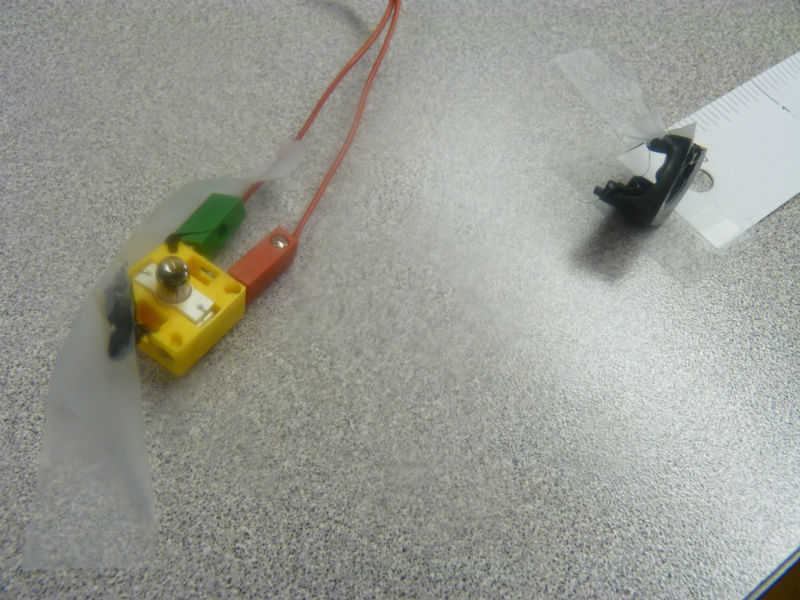
Lamp Too Hot
|
Recording the Measurements
|
Follow the directions on the worksheet (right) and record your resistance measurements from the experiment.
|
|
||
Supporting Target #2: I can work with software to manage and display my data
Video #1: I can open and save files correctly
I can set up data sets to chart
I can set up data sets to chart
Video #2: I can create and format charts
Video #3: I can create and format charts